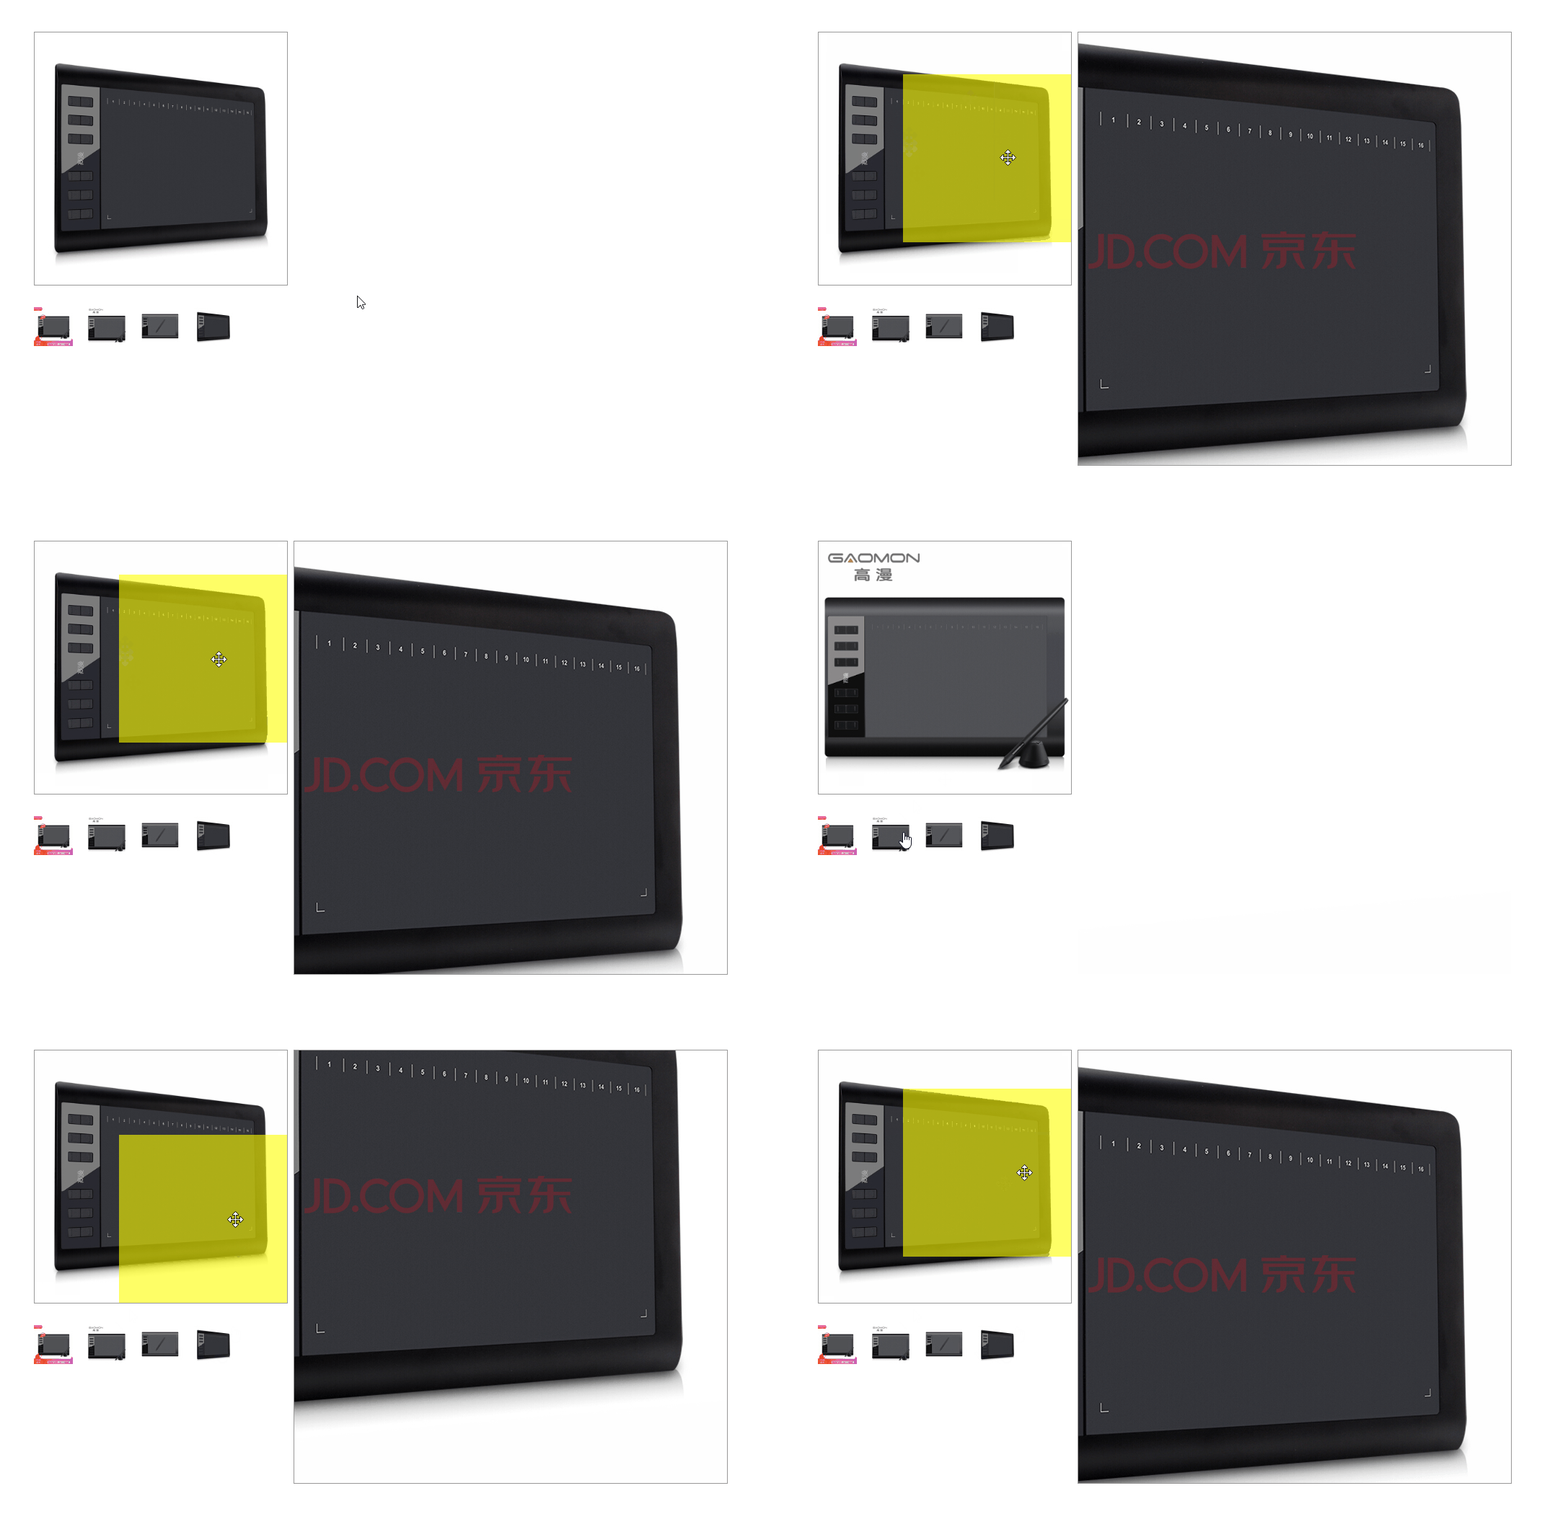
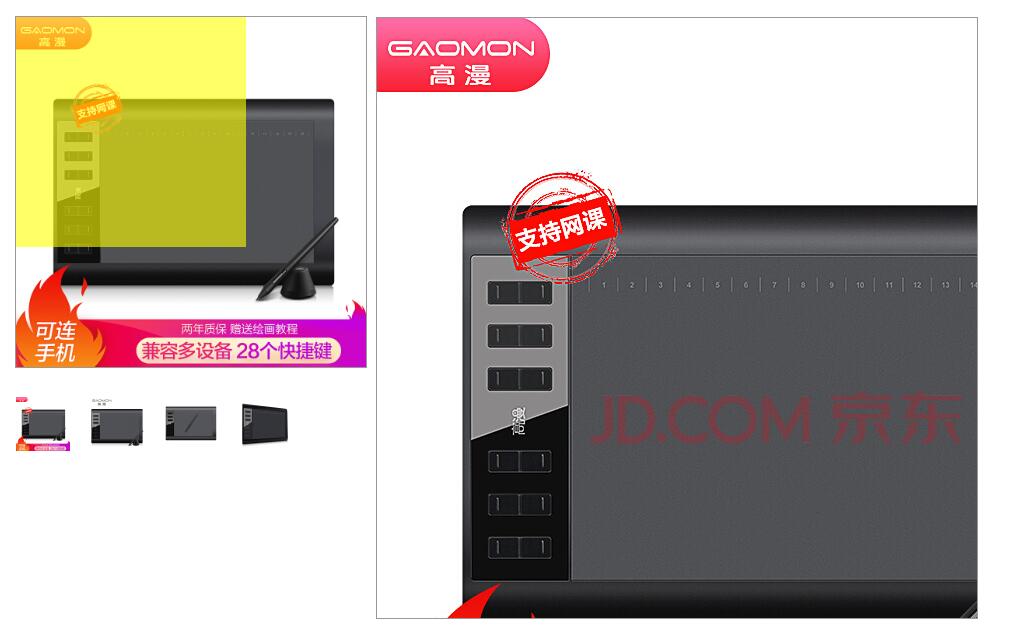
效果展示
今天早上学习了一个有趣的JS案例之电商放大镜,8说了,上图!

开始制作吧!
该案例主要运用了offset与事件对象event的知识,以及对与定位的熟练使用!
HTML
首先开始写HTML中的代码,划分好结构!
我们将他分为三个部分,展示区,放大镜显示区和小图区;
1
2
3
4
5
6
7
8
9
10
11
12
13
14
15
16
17
18
|
<div id="box">
<div id="box_big">
<img src="images/bigpc01.jpg">
<div id="box_big_cover"></div>
</div>
<div id="box_bigger">
<img src="images/biggerpc01.jpg">
</div>
<ul id="list">
<li><img src="images/smallpc01.jpg"></li>
<li><img src="images/smallpc02.jpg"></li>
<li><img src="images/smallpc03.jpg"></li>
<li><img src="images/smallpc04.jpg"></li>
</ul>
</div>
|
css
接下来开始写css样式(^_^)!
1
2
3
4
5
6
7
8
9
10
11
12
13
14
15
16
17
18
19
20
21
22
23
24
25
26
27
28
29
30
31
32
33
34
35
36
37
38
39
40
41
42
43
44
45
46
47
48
|
*{
    margin: 0;
    padding: 0;
}
#box{
    position: relative;
    width: 350px;
    height: 350px;
    border: 1px solid #999999;
    margin: 30px 0 0 30px;
}
#box_big{
    width: 100%;
    height: 100%;
    position: relative;
    cursor: move;
}
#box_big img{
    width: 100%;
    height: 100%;
}
#box_big_cover{
    width: 230px;
    height: 230px;
    background-color: rgb(255,255,0,0.6);
    position: absolute;
    top: 0;
    left: 0;
}
#box_bigger{
    width: 600px;
    height: 600px;
    border: 1px solid #999999;
    overflow: hidden;
    position: absolute;
    top: 0;
    left: 360px;
}
#box_bigger img{
    position: absolute;
}
#list li{
    float: left;
    list-style: none;
    margin: 30px 20px 0 0;
    cursor: pointer;
}
|
布局完成之后大概是这个样子:

emmmmm,有内味儿了!
简单总结一下:
黄色框框和放大镜显示区域都要相对于父盒子定位,当鼠标进入图片展示区域时cursor要设置为move!
放大镜中的图片不需要规定显示完整,让其超出去的部分隐藏,因为要实现移动的效果。
放大镜中的图片要相对于放大镜显示区域定位!
之后将黄色区域与放大镜显示区域display设置为none,当鼠标进入展示区后用js来控制它的显示!
JS
接下来完成最重要的部分,用JS来控制整体的效果。
再写JS之前,先来想想它需要做些什么:
1.鼠标进入时,显示黄色区域与放大镜区域,鼠标离开时隐藏
2.在鼠标进入展示区后,黄色区域要跟着鼠标中心点移动,并规定移动的范围
3.黄色区域移动时,放大镜中的图片跟着移动
4.图片的切换
理清思路后,开始一个个完成吧= =
1
2
3
4
5
6
7
8
9
10
11
12
13
14
15
16
17
18
19
20
21
22
23
24
25
26
27
28
29
30
31
32
33
34
35
36
37
38
39
40
41
42
43
44
45
46
47
48
49
50
51
52
53
54
55
56
57
58
59
| window.addEventListener('load', function () {
var box = document.getElementById('box');
var bigBox = document.getElementById('box_big');
var biggerBox = document.getElementById('box_bigger');
var li = document.getElementById('list');
var Cover = bigBox.children[1];
var pointX, pointY, event, BcpointX, BcpointY, bigger_pointX, bigger_pointY;
bigBox.addEventListener('mouseover', function () {
Cover.style.display = 'block';
biggerBox.style.display = 'block';
bigBox.addEventListener('mousemove', function (ev) {
event = ev || window.event;
pointX = event.pageX - box.offsetLeft;
pointY = event.pageY - box.offsetTop;
BcpointX = pointX - Cover.offsetWidth * 0.5;
BcpointY = pointY - Cover.offsetHeight * 0.5;
if (BcpointX < 0) {
BcpointX = 0
} else if (BcpointX > bigBox.offsetWidth - Cover.offsetWidth - 2) {
BcpointX = bigBox.offsetWidth - Cover.offsetWidth - 2;
}
if (BcpointY < 0) {
BcpointY = 0
} else if (BcpointY > bigBox.offsetHeight - Cover.offsetHeight - 2) {
BcpointY = bigBox.offsetHeight - Cover.offsetHeight - 2;
}
Cover.style.left = BcpointX + 'px';
Cover.style.top = BcpointY + 'px';
bigger_pointX = -BcpointX / (bigBox.offsetWidth / biggerBox.offsetWidth);
bigger_pointY = -BcpointY / (bigBox.offsetHeight / biggerBox.offsetHeight);
biggerBox.children[0].style.left = bigger_pointX + 'px';
biggerBox.children[0].style.top = bigger_pointY + 'px';
})
})
box.addEventListener('mouseout', function () {
bigBox.children[1].style.display = 'none';
biggerBox.style.display = 'none';
})
for(var i=0;i<li.children.length;i++){
(function(i){
li.children[i].addEventListener('mouseover',function(){
biggerBox.children[0].src="images/biggerpc0"+(i+1)+".jpg";
bigBox.children[0].src="images/bigpc0"+(i+1)+".jpg";
})
})(i)
}
})
|
如果这篇文章对你有帮助,可以bilibili关注一波 ~ !此外,如果你觉得本人的文章侵犯了你的著作权,请联系我删除~谢谢!

